You Will Need
- Tarp or plastic sheeting
- Foam roller
- Deglosser
- Paint brush
- Craft knife
- Scraper
- Roller tray
- Masking tape
- Gloves
- Screwdriver
- Drill
- Primer and paint, or stain
Preparing the door
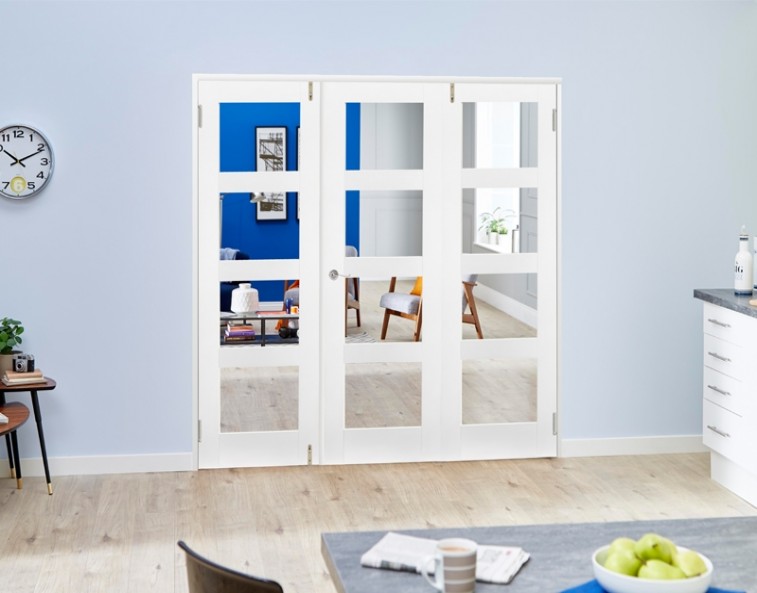
If you decide you want to finish your own internal French folding doors, it is often easier to paint them or varnish them when they’re unhinged. When your doors arrive then, instead of hanging them immediately lay them on a cover or table and paint them beforehand.
You may need to prime the door before you paint it. If you are painting an existing door that you’ve had a while, then you may want to lightly sand and prime it to recover that smooth surface. If you are painting over an existing layer of paint, then you might be able to simply add an additional layer, but you still may need to prepare the door.
You should sand and prime the door if it is painted with an oil-based paint and you want to cover it with a new layer of latex paint. If the current coat is already latex, then you should degloss the door before you paint it, because that will help to ensure that the fresh layer of paint adheres properly and gives you a good finish. If you’re not sure whether your existing paint is oil based or latex based, dip a swab of cotton into some alcohol and then rub an inconspicuous area of the door. If the colour comes up onto the swab, then the paint is latex based.
Lay a tarp or some sheeting under the door before you start sanding, to collect the dust. If you’re sanding the door, use a fine grit sandpaper to achieve a nice smooth and even finish, and wipe the door down after sanding to remove any debris. Collect the debris with a vacuum cleaner. If your door is made from engineered wood, be cautious when sanding. Engineered wood means you have only a thin layer of real wood on the door as opposed to hardwood doors in which the door produced entirely from solid wood. There are multiple benefits of engineered wood – real wood can expand or shrink based on the humidity and they also require a considerable amount of maintenance. Engineered wood deliver the same output – they have the same stunning finish but they won’t warp out of shape.
If you’re using a deglosser on a latex coat of paint, mix it according to the instructions on the packet, and apply it with a cotton rag.
Once you’re prepared the door, use masking tape to cover the doorknobs and other hardware, and the hinges, as well as any other areas that you don’t want to get paint on. If you have just had your new doors delivered, as opposed to painting your old doors, don’t install your hardware or fittings until after you have finished your door.

Painting the Door
Once you’ve prepared the door, you can use the foam roller to apply the paint to the biggest area of the door, then an angled brush to cover the rest. Paint one side of the door at a time, and let the paint dry before you add the next layer. You will need a minimum of two coats, but for darker colours it is a good idea to apply three coats for full vibrancy.
Give the door a full day to dry before you touch it or move it, so that it doesn’t get smudged.
Painting Tips
- Always paint ‘with’ the grain, rather than going side to side. This will bring out the natural pattern of the wood.
- Put a rubber band over the tin of paint, from the bottom and across the opening. When you dip the paint brush into the tin, drag it across the rubber band as you pull it out, to remove excess paint. This will ensure that when you are painting the door, you won’t be applying too much paint, and it will reduce the risk of paint dripping or running.
How to Stop Paint Getting on the Glass
Paint splotches on glass are incredibly unsightly and can be hard to remove, if you don’t know the best way to get rid of them. There are two ways to keep your glass paint-free. The most common way is to tape around the edges where the glass meets the frame. This makes it easier for you to paint right up to the edge of the frame without having to worry about getting paint on the glass. When you are done painting, simply peel away the tape.
Some people find it difficult to apply the tape neatly. Another option is to use a cotton bud to apply petroleum jelly to the glass around the edges of the window, then paint as normal. When the paint dries, use a solution of water and vinegar to clean the glass.
If you do get paint on the windows, don’t panic. Let the paint dry completely (leave it for 2-3 days), then score around the edge of the window, where the wood meets the glass. Spraying the window with a solution of water and vinegar, then using a scraper to lift the paint off. You will need to be careful not to scratch the glass when doing this. Do not skip the ‘score around the edge’ step, as tempting as this may be, because if you start peeling back the paint on the window there is the risk that you will end up scraping back too much paint, and it will peel off the glass.
Painting an Unfinished Door
If you are painting a door that is unfinished, then you will need to use a primer, then sand the primed wood with fine grit sandpaper, wipe the door clean, and then apply an undercoat. After leaving the undercoat to dry, you will need to sand the door again, clean it, and apply a topcoat. The number of topcoats you will need will depend on the brand of paint, whether the paint is oil or latex based, and how dark the colour is. In some cases you will need to apply two or three topcoats.
Paint one side of the door, let it dry completely, then paint the other side. It can take 24 hours for the paint to be ‘dry to the touch’, and 2-3 days for the paint to completely harden.
If you are painting the door while it is hung in place, then you can start opening and closing it after 24 hours. If you’re painting the door before you hang it, then make sure that the paint is completely dry before you turn the door over, so that it doesn’t scratch or leave impressions from the stand when it is turned over. Ideally, if you’ve bought a new door, you should paint it before you hang it, because this means that it’s easier to reach the edges of the door, and you should get a smoother and neater finish. It also means you avoid getting the paint on your walls or carpets.
Different Colours on Each Side
If you plan to paint the door with different colours on each side, to match the decor of each room, then paint the edge with the latch on it the same colour as the side of the door which opens inwards. Paint the hinge side the same colour as the other side of the door. This will give a consistent finish and a nice professional touch.
You don’t have to paint the top or bottom edge of the door if you don’t want to, but it is good practice to do so if those edges are ever likely to be visible – for example, if the door is below a set of stairs, then the top edge might be visible to people using the stairs.
Some Final Tips
Painting a glass door is easier than you might think, as long as you work slowly and methodically. Always work with the grain of the wood. Buy a high quality paint brush, and be sure to clean it properly if you take a break for any length of time to stop the paint going hard on it. Do not skimp on the paint brush or roller, because quality matters with these things. Low quality paint brushes may have uneven bristles or bristles that will come loose and potentially give you a poor quality finish.
Once your internal door is painted, the finish should last for several years, as long as you do not have any issues with damp or humidity in your home. Varnish and wood stains are similar to paint in that you may need to apply several coats. Be sure to give them plenty of time to dry, because varnish (especially darker colours) shows finger-prints and scuff marks easily, and it can be hard to get rid of them. If you touch varnish while it is still sticky, it’s likely that you will end up with visible finger prints on the finish. You may be able to cover them up by sanding that part of the door and re-applying a thin layer, but this could leave patches or ‘tide marks’ where the fresh coat meets the old coat.


