Tools
Pencil, Hammer, Screwdriver, Chisel, Tape Measure, Drill, Drill bits, Set Square, Sheets, Tape.
Materials
Door handle kit, Wedges, Latch.
Adding Door Handles To Front/Back Doors
- Removing the old Hardware - Obviously, if you are replacing an older handle or door knob this is going to be your first job. This should be a case of simply unscrewing the hardware and pulling it free of the door. The hole that is left might be suitable for your replacement handle or door knob, but if that's not the case you might want to fill it with wood filler or a similar, strong filler, and start from scratch. If you want to use the old space you can skip to ‘The Handle’ section, but if you're going all the way then read on.
- Measuring - Measure twice, cut once is an adage you should always live by when it comes to any DIY job and should be adhered to here, so before you begin, make sure you're keeping that in mind! Begin by laying a dust sheet if you're worried about mess, then use door wedges to secure your door (without the handle it might be a little loose) and measure from the bottom with your tape measure where you want your handle to fit.
- Latching and Drilling - Put the latch against the door and mark the depth required for your latch and also mark it with a piece of tape so you have a guide for the drill. Next, use the line of the edge of the door as a starting point and drill up to where the drill bit reaches the tape. You should now have a hole for your latch, so use a hammer and chisel to cut out enough wood so the latch plate can lay flat against the door.
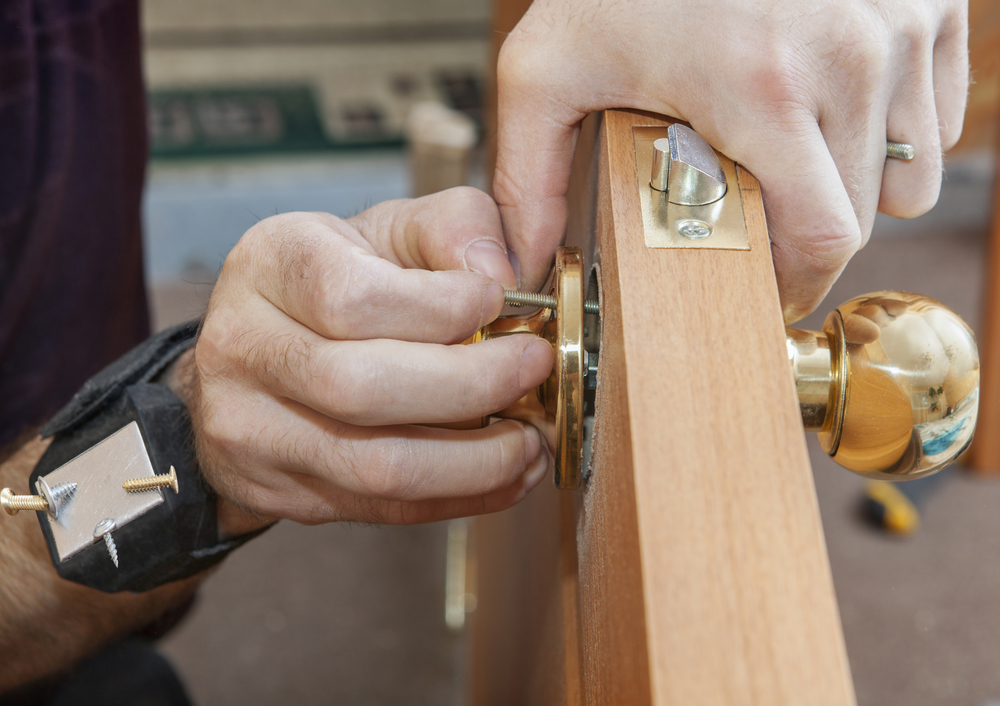
- The Handle - Mark through the holes in the latch where your handle will sit and drill through the door until the point where the tip of the drill bit it slightly sticking out the other side of the door. Drill through the other side so that the holes join together and you'll have a handle hole. Next, put the latch plate back onto the door and screw it in before putting the handle in through the side of the latch. Tighten on both sides and use a smaller drill bit to drill holes for the handle.
- The Latch Plate - Close your door and mark the latch position on the frame. Place your latch and trace the outside of it with your pencil, making measurements with the set square and tape measure. Use your hammer and chisel to even out the hole and make sure your plate sits flush with the door frame and secure the latch plate with the screws that should be in your kit. Finally, mark where the middle of your latch plate will go into the door frame, remove the plate a final time and chisel it out. Screw the latch plate on a final time and test it. If it feels secure and tight then you're all done!
Types of Handle For Your Front/Back Door
Now that you know how to install your door handles, we'll explore a few options available to you. Please be aware that some of these handles will require slightly different installation methods to the steps detailed above. As such, different handles, especially more unconventional designs, might require you to make alterations to the steps above. Many manufacturers might include instructions with your handle purchase too, so make sure you check them before you get started.
Door Knob or Door Handle?
A very important question, as they not only have completely different looks, but operate in a different way. Installation, however, should be largely identical. Generally speaking, any handle or door knob can be used for your front or back door, but you're going to want to make sure the build quality is of a higher standard than the handles and door knobs used inside your home, not only due to the increased security of better quality hardware, but because it will be exposed to the elements, so it will wear faster than an interior handle.
Benefits and Considerations of Door Knobs
- They can be turned either way to operate, so are, by their very nature, more flexible.
- Door knobs are, historically speaking at least, older than handles, and have been around for a lot longer, which means they will be better suited to period properties.
- You don't have to opt for the traditional circle shape. There are more varied styles including less rounded oval or egg-shaped door knobs.
- Whilst oval and egg-shaped door knobs offer better grip than traditional circle-shaped door knobs, handles will always offer a naturally better grip, especially if you have wet hands!
- Specifically for external doors, it can be difficult to find adequate locking mechanisms for door knobs.
- Door knobs will need to be set back further in the door frame than handles in order to avoid homeowners and guests catching their knuckles.
Benefits and Considerations of Door Handles
- Handles offer a much better grip than door knobs, which is especially handy for heavier external doors that might require a little more force to open.
- The options available when it comes to locking and security are far more expansive. There are also more options to consider when it comes to backplates too, so customisation is more feasible.
- Handles are simply more practical, because even with the narrowest depth lock, you should never catch your knuckles when using it!
- Handles are a more modern invention, so, whilst they look perfect in more modern homes, they might seem a little out-of-place in a period property.
- From a purely practical perspective, there are times when you will get your clothing caught on a door handle, whereas this is much less likely to happen with a door knob.
- Handles have more moving parts so will require more maintenance over time.
Style
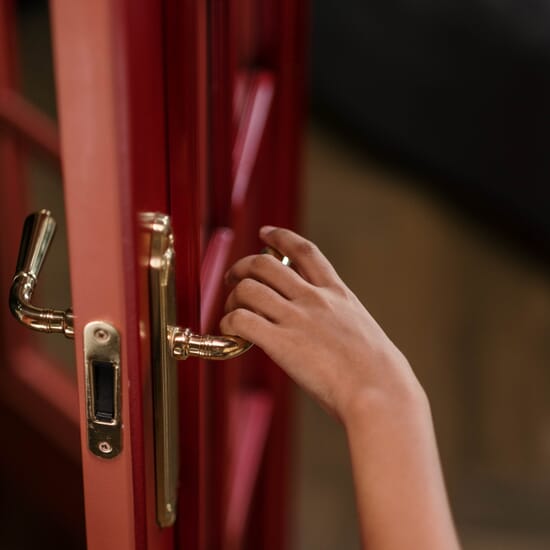
Generally speaking there are a few basic styles and variations for your door handles. The classic door handle designs will either be flat, curved or wavy, and can come in a number of finishes (see below). Perhaps the main drawback of handles is that you'll occasionally catch loose clothing or items (shopping bags for example) on them, so for this reason you might want to consider a shorter handle that is set back closer into the frame. There are also backplates to consider, with different sizes and shapes that might compliment your handle of choice. When it comes to door knobs there are less options in terms of shape, but you can always opt for more elaborate jewelled designs or even look for more quirky styles. Note, however, that these 'novelty' door knobs will often be made from plastic, so are not recommended for external use. Style tends to come down to personal preference but make sure when choosing style you bear in mind fitting, security and material of the handles as well.
It's all in the Finish
The most popular finishes for external door handles tend to be nickel, chrome and stainless steel, as they will require very little maintenance and will fare better against the elements than most other choices. Chrome particularly, is not only durable, but looks classic and elegant and will require little more than a light coating of wax to keep it looking fresh for years to come. Polished brass is another option to consider, but be warned that, whilst brass can look great, the lacquer will tarnish over time, so you will eventually need to strip back the lacquer with paint stripper and apply a new polish. Alternatively, you could simply leave the bare brass and let it degrade over time. This will lend it a definite 'antique' look that could be incredibly desirable if you're going for a more unique and quirky look. There is also the option of PVD (physical vapour deposition) brass, which will last for at least 25 years thanks to a process that deposits molecules of durable metals onto the brass to create a microscopic layer that protects the brass finish from discolouration, even when exposed to strong winds, sunlight and pollution. Finally, there is the option of black antique and rustic finishes, which can look spectacular, but will reveal signs of rust fairly quickly. You can use wax to slow this process though, and some homeowners might actually appreciate the natural rust effect!
We also have helpful guides on how to fit your external doors and you can view our full range of external oak doors, including oak french doors, to find what styles work for your home. If you have any questions, get in touch with our friendly customer service team who will be happy to help.

